Big Finish Photo Tips
This guide will show you how to create effective group and individual photographs for publicity purposes, and as reference photos, for Big Finish productions.
The guide will not cover more complex situations, like specialist lighting, and costumes. These are areas where a professional photographer can make your life easier and produce high quality results. So please get in touch if I can help with your latest production.
This guide will provide general advice for taking good photos, as well as some specific tips for using smartphone cameras. It is a good idea to practice these tips with friends and family.
Preparation
Preparation helps ensure the session goes smoothly. Talk to the Director about the schedule for the day, identify when you can take photos, and how long you have available. As a rule of thumb, allow 2 minutes for each group combination, plus 10 minutes.
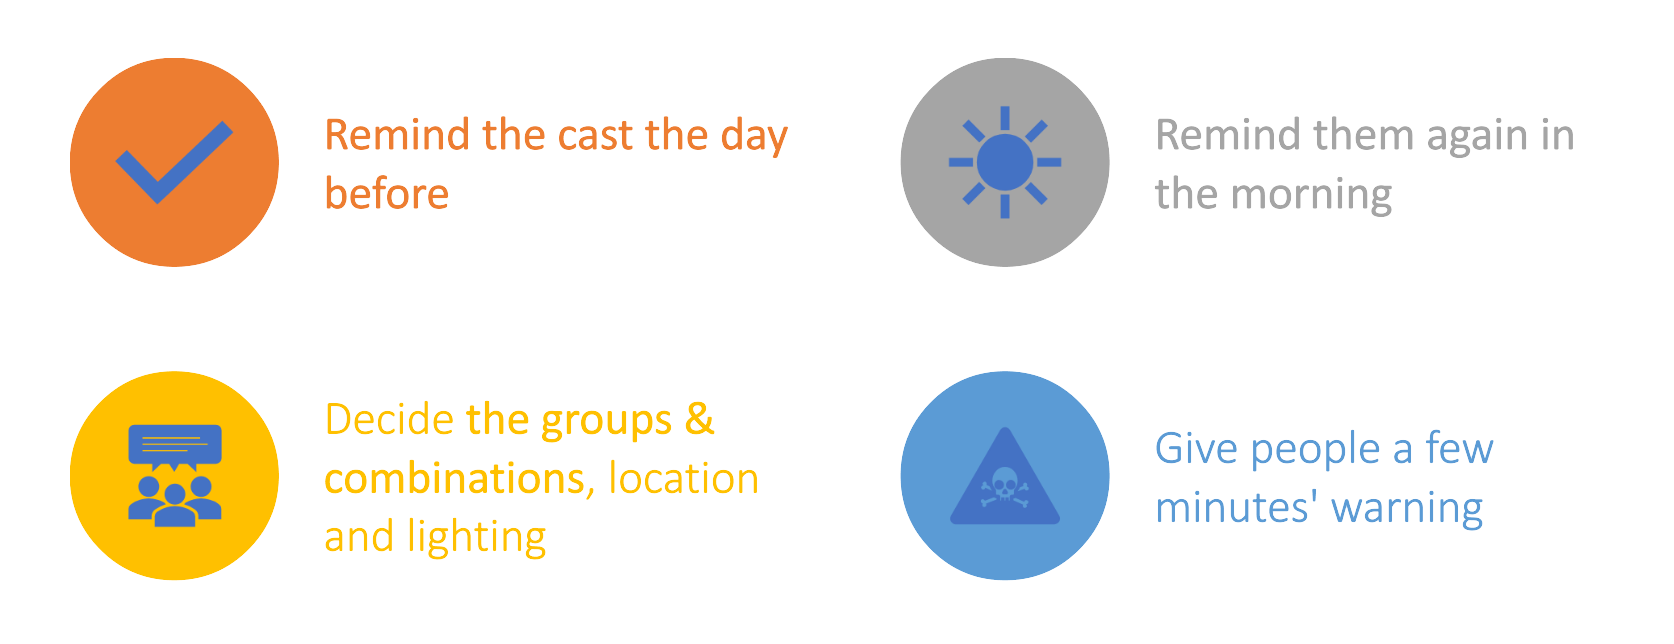
Lots of actors do not like having their photo taken, so preparing them mentally in advance goes a long way. It is helpful to remind the cast the day before (in person or by e-mail/text) that you will be taking some photos for publicity. Although information about taking photos is included in the letter and contract, some cast members will have forgotten.
On the morning of the session, it is helpful to remind them again (e.g. “...and we will take some publicity photos of the cast together after lunch”).
For group photos, think about who you want in them, and in what combinations. Variety is good, as it gives editors more choice, so do a few different combinations of people in mind. For example, are there any actors whose characters are paired for the story? Is there a special guest star to photograph with the title character? It is always good to have a full cast photo as well. Do you want the Director/Producer/Writer in the photos too?
Work out where you are going to take the photos. Where is there enough space, good lighting and a suitable background? (See later sections for more detail).
For “in studio” photos, with the actors at the microphone, check that they are comfortable with you taking photos of them whilst they are in the studio beforehand.
Give people a few minutes notice before you want to start the photos, so those who wish to can fix their hair / put on make-up / check their teeth for bits of spinach.
Before the session
Camera
It is possible to get excellent results from a modern smartphone or a simple digital camera. Make sure you have prepared for the photo session:
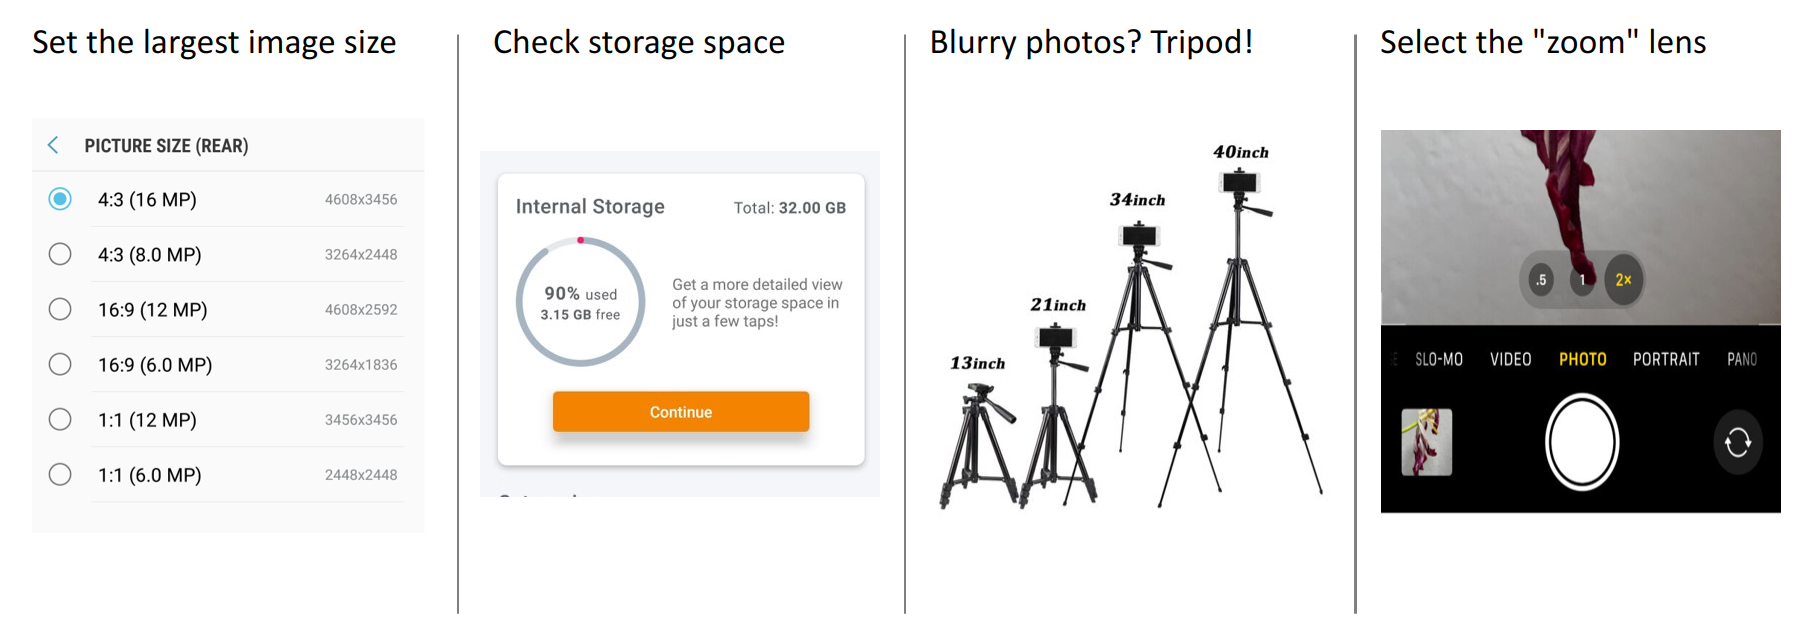
Make sure there is enough available storage space on your camera or smartphone.
Charge your phone / camera.
Wipe the lenses with a soft microfibre cloth (same as a glasses cleaning cloth).
Set your camera or smartphone to capture images at the highest available quality in the JPEG format.
Put your camera or smartphone in “auto” mode unless you are confident you know how to use other settings.
Ensure you are not using digital zoom, which results in images of noticeably lower quality.
Settings and controls vary between cameras and smartphones, so please check the manual or search online for how to use your specific model.
Telephoto (aka “zoom”) flattens the frame and means there is less distortion at the edges of the frame. This avoids the “barrel effect” where the people at the end of a row seem much taller than those in the middle. If your smartphone has multiple lenses, select the telephoto option, even if that means standing further back from your subjects. Select the built-in zoom option with the largest multiplier (e.g. 2x). If your smartphone does not have multiple lenses, then try to put your subjects towards the middle 50% of the photo, and avoid having anyone at the far edges. This will also reduce the “barrel effect”.
If you are using a camera with a telephoto lens, zoom in to create a more pleasing image. (It will vary between devices, but try using half the available zoom to start with.)
If you find your images are blurry, then a tripod might help avoid camera shake. You can get tripods with smartphone mounts from Amazon, eBay and elsewhere.
Lighting
Good lighting is key to a good photograph. For the types of photographs that Big Finish need for publicity, nice even “flat” light is best. It is flattering and can be found in almost any location.
On a cloudy but bright day, almost anywhere in the open will do. Avoid anywhere with an overhang, or between tall buildings. Once you have identified a possible location, hold up your hand where your subjects will be standing. Look at the back of your hand, and if the light on it looks flat, without particularly noticeable shadows, then you are in a good spot.
Avoid putting your subjects in direct sunlight. It will make them squint and sweat - not a good look for anyone. Or worse, make them want to wear sunglasses! Find a spot of “open shade” away from direct sunlight, for example behind a tall wall or side of a building away from the sun.
If you absolutely cannot avoid direct sunlight, put the subjects with their back to the sun. Ensure the sun is not in the photo, as you could damage your eyesight. Shade the lens with your hand to avoid lens flare, and adjust the exposure appropriately (see later section).
If it is too dark, wet or windy outside to take photos, then you will need to find somewhere inside. Ideally, find somewhere with a large window, and get your subjects to stand opposite it. Alternatively, find an area where there are white or light coloured walls, and avoid placing your subjects directly underneath artificial lights.
If all else fails, you can use the flash on your camera or smartphone. Built-in flash will look harsh, but that is a limitation of the technology. You would need to use an external flash for a better outcome.

Christopher Eccleston photographed with his back to the sun, with adjusted exposure and artistic lens flare!
Location
Location is secondary to lighting, but still important. It is especially important when using a simple camera or smartphone. (Professional camera equipment can reduce the impact of the background by making the subject larger and the background blurry, but it is hard to do properly on a smartphone.)
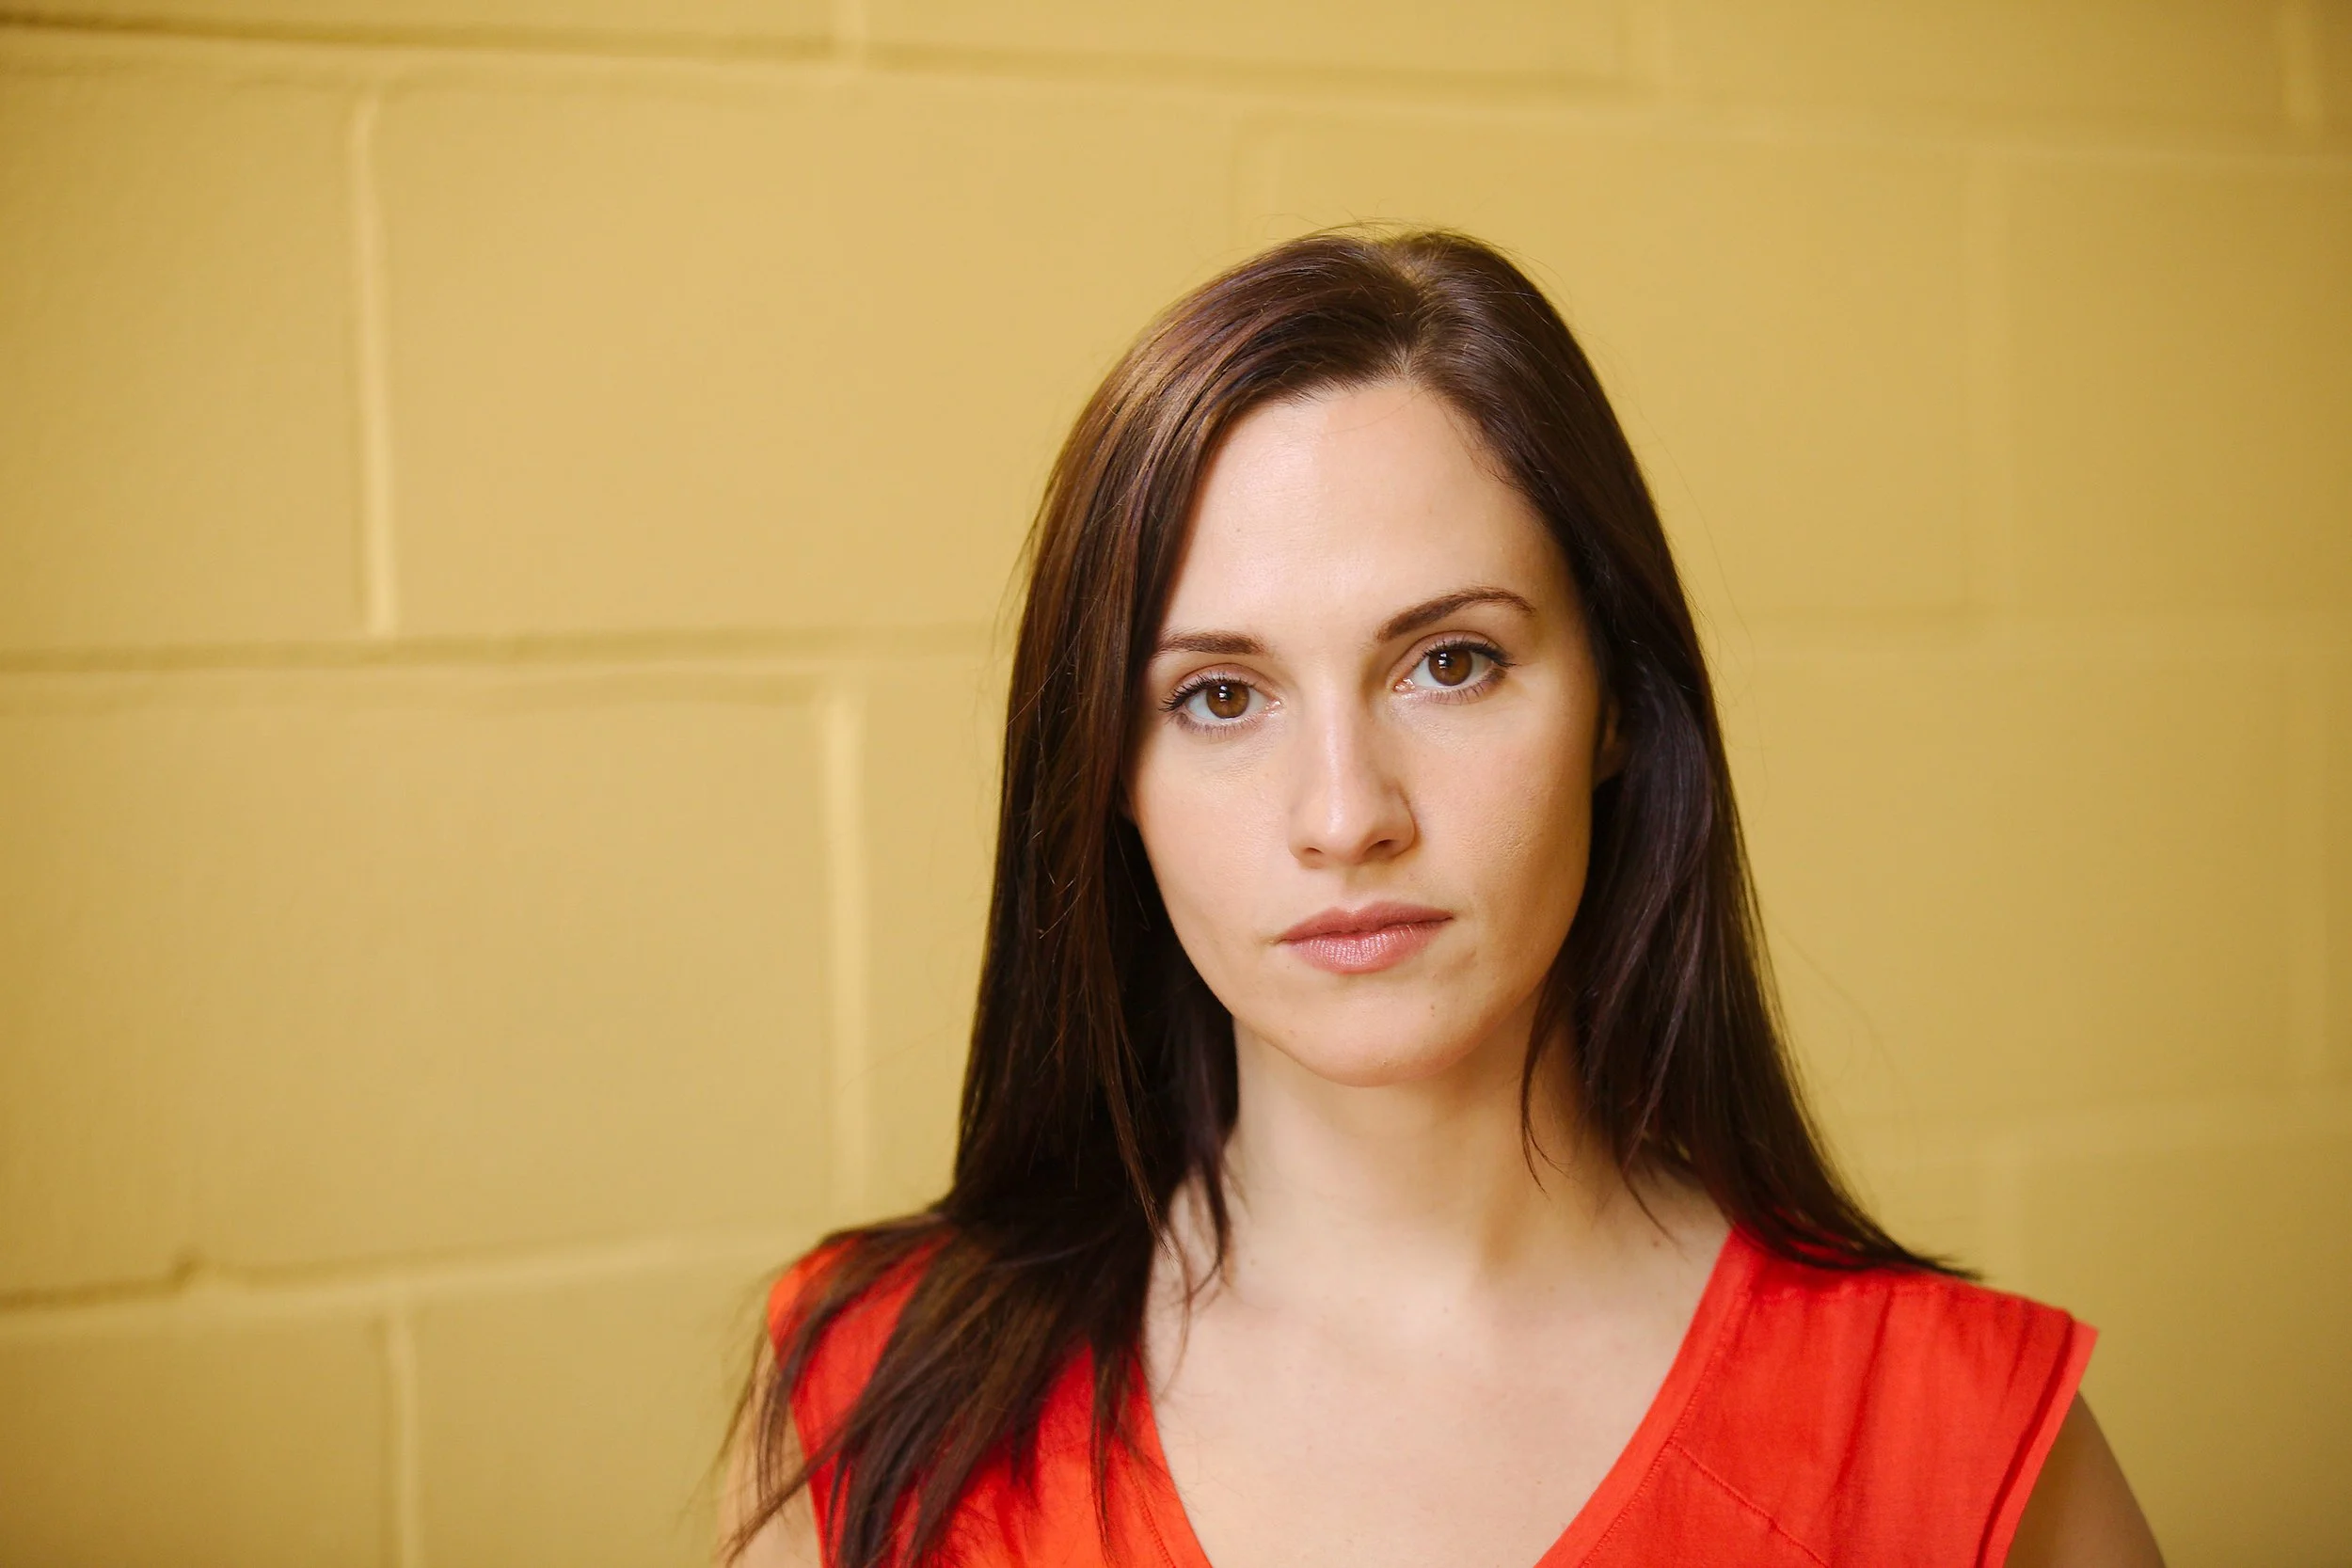
Taking the lighting situation into account, look for a plain or clear background. White or off-white is ideal, as strong colours can be distracting and give a “colour cast” to the photos. That said, if the only option is a bright green wall, that can still create a strong image.
Items like cars, doors, signs etc. are a distraction from the focus of the image - your subject. Brick, concrete or graffiti covered walls work well, if a little cliched.
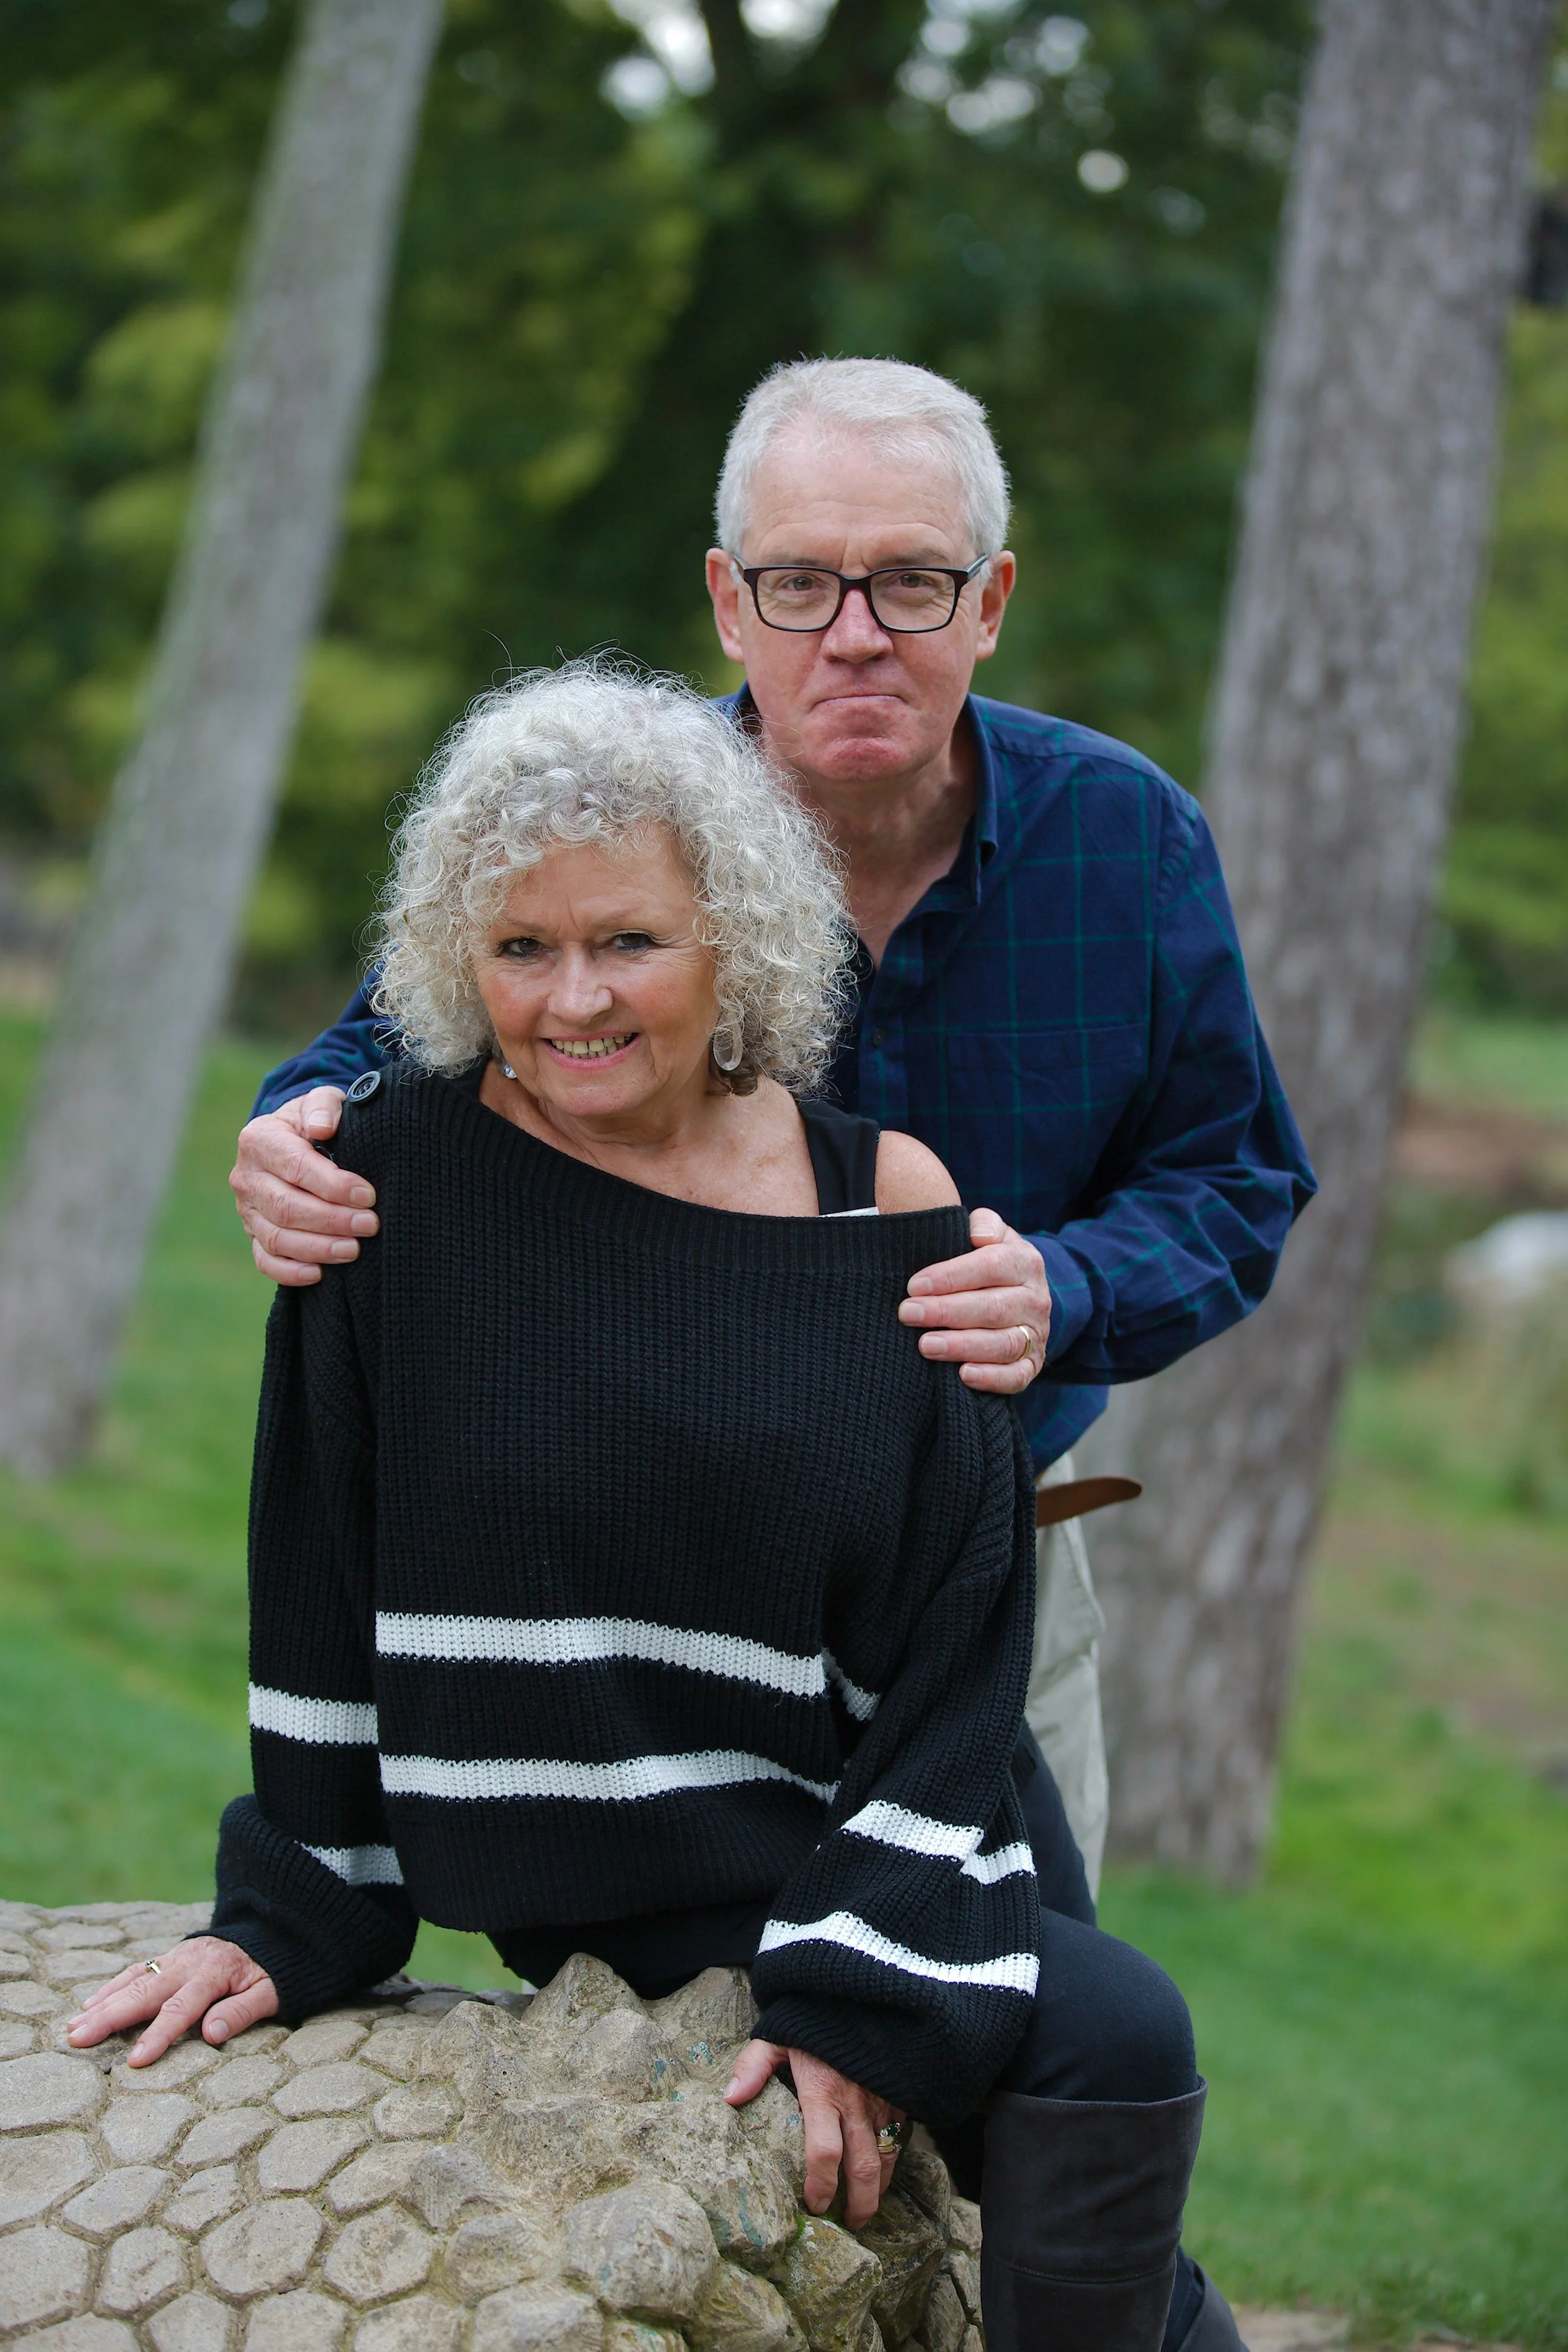

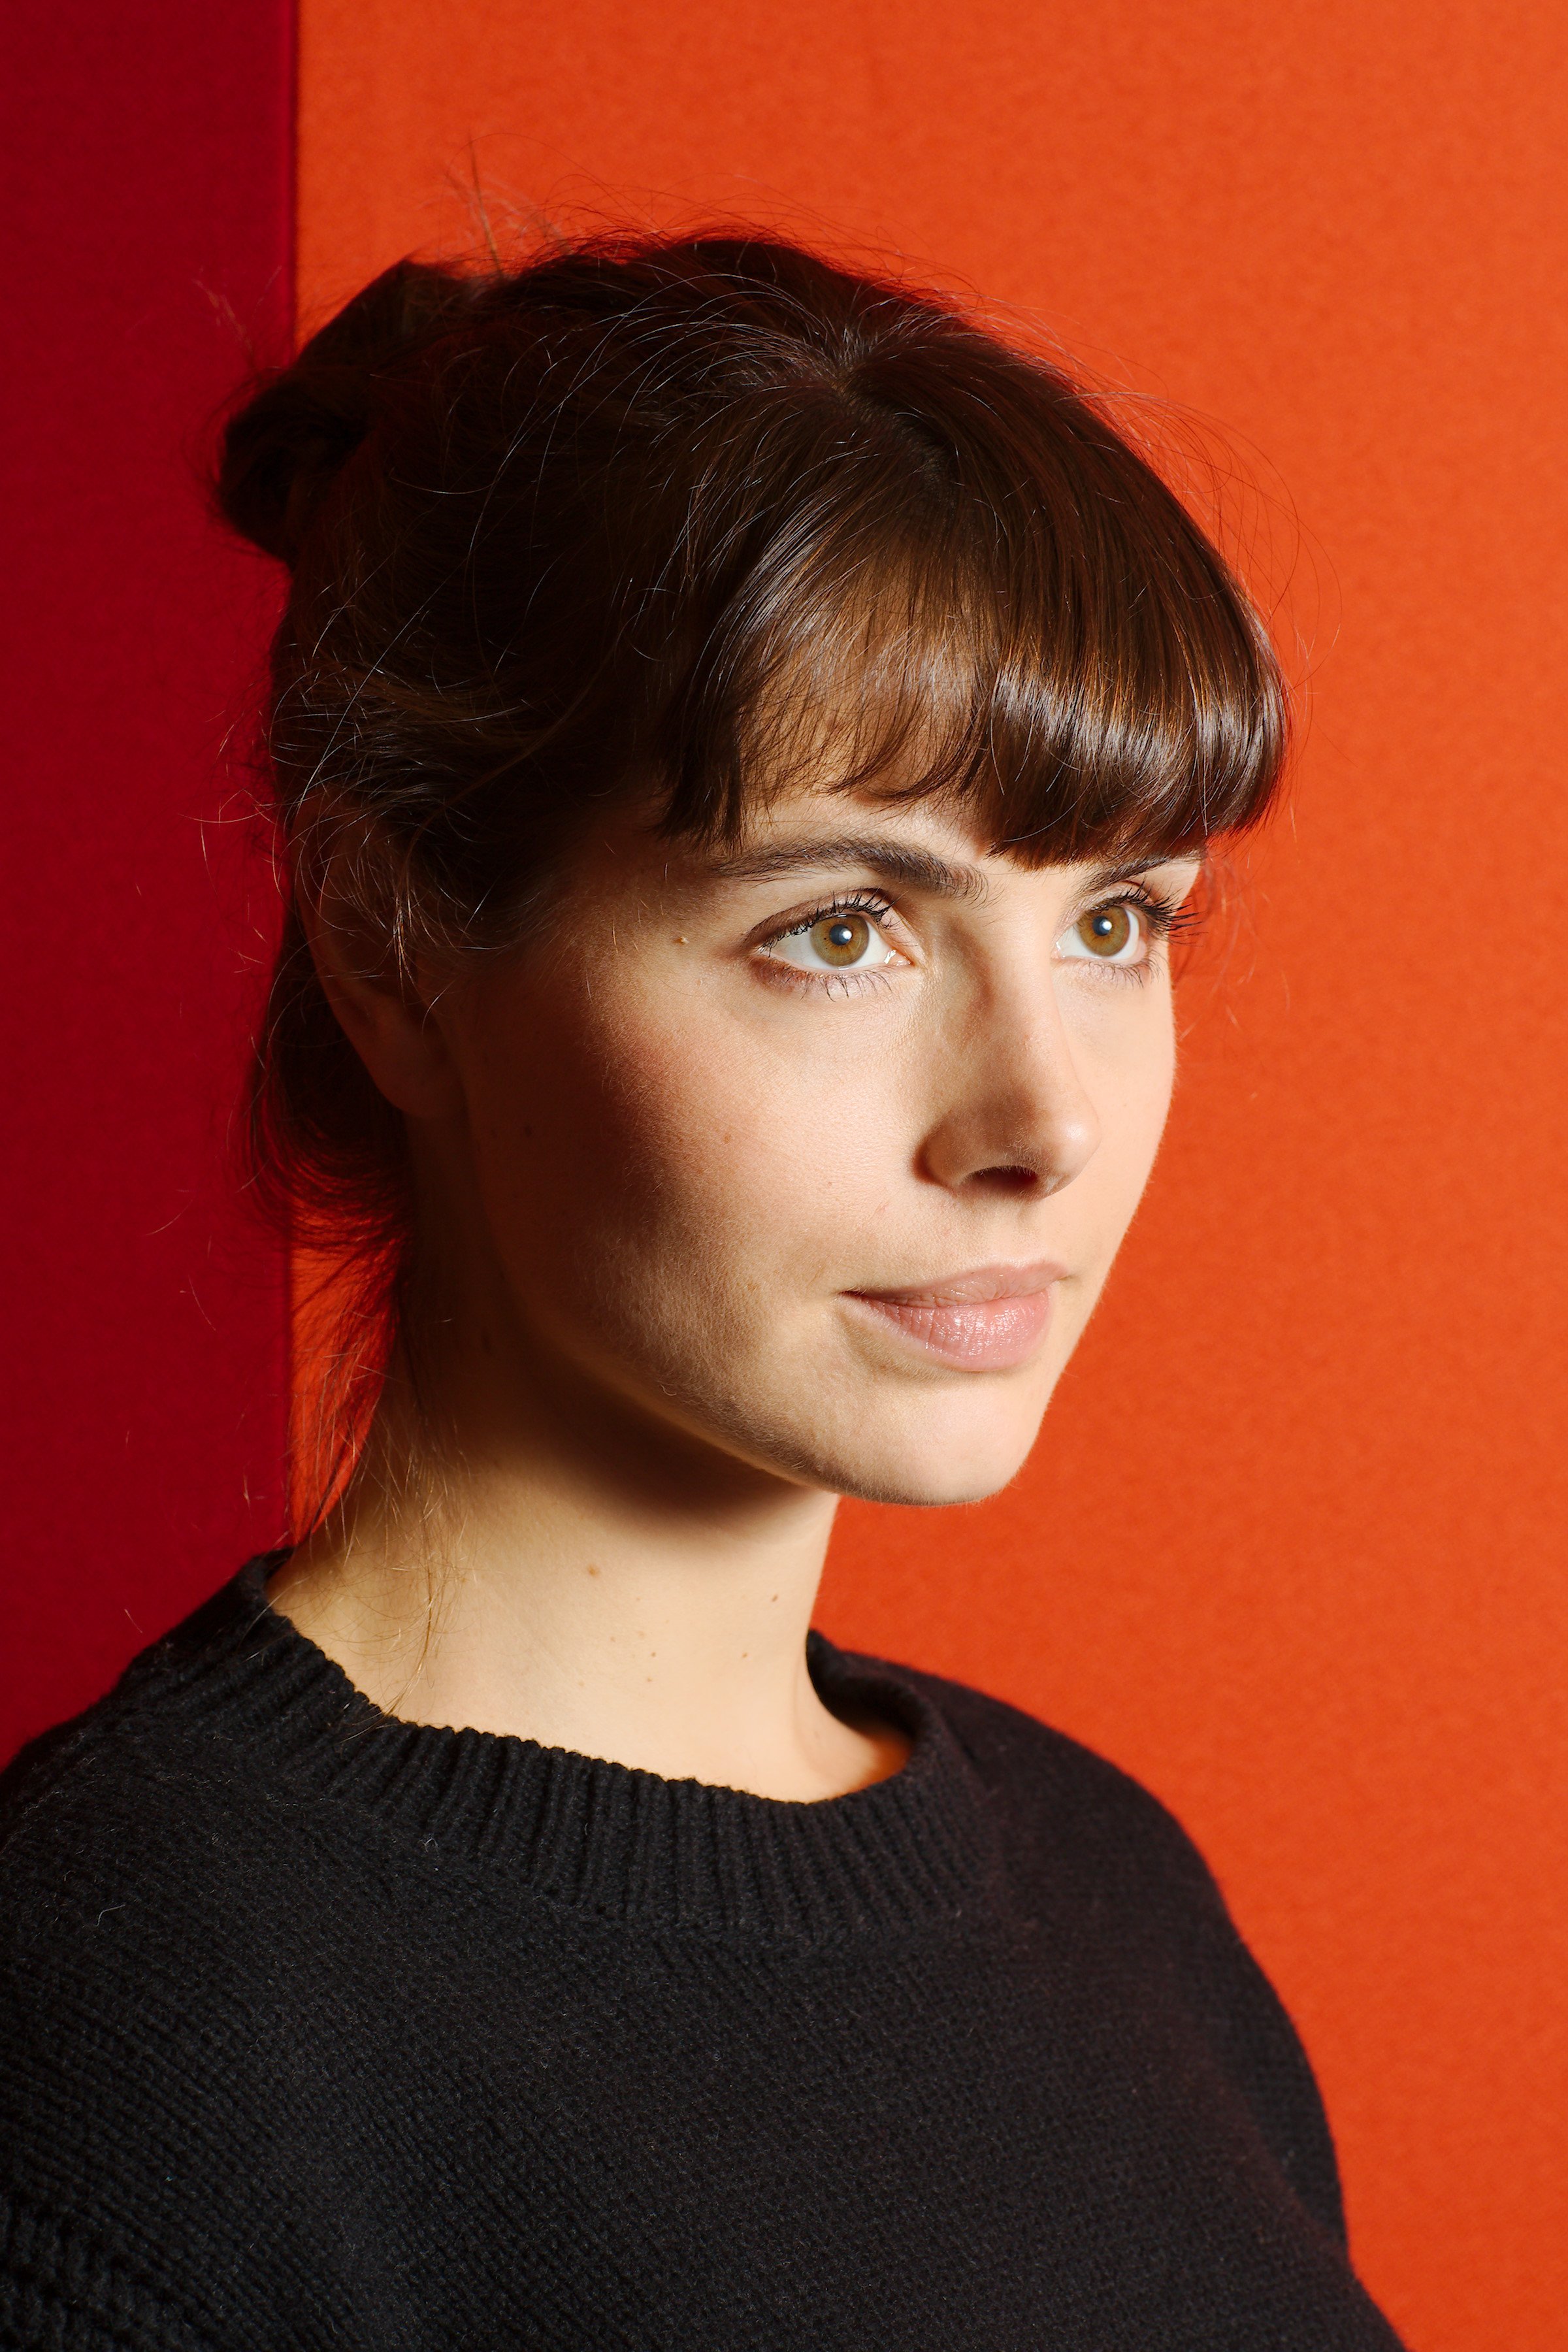
Coloured walls can make interesting backgrounds for portraits. Finding places outdoors adds variety. Avoid distracting wording and signs in the background though!
During the session
One of your most important jobs during the session is to relax the subjects. If you have time and do not already know them well, have a bit of a chat first. Explain why you are taking photos, and how they are going to be used. Try to keep things fun or at least light-hearted during the session. Some people are not that keen on having their photo taken but if others are, they will likely go along with the group attitude. Work quickly to avoid keeping people hanging around.
Composition
Composition is just a fancy word for how the subjects of the photo are arranged in the frame. For publicity purposes, clear, simple photos work best. Make sure your subjects are take up most of the image, but leave a little room around the edge. Put your subjects’ heads in a clear space - no plants seeming to grow out of them, and no windows, wall-lights or clocks behind their head etc.
Creative compositions can be fun, and if you are certain you have the “safe” shots, feel free to experiment with other poses and creative use of space negative space or the rule of thirds.
Individuals
Ask people to take off glasses if they don’t always wear them, which helps avoid any problems with reflections. Offer to take glasses, and any bags/coats etc. from people as necessary.
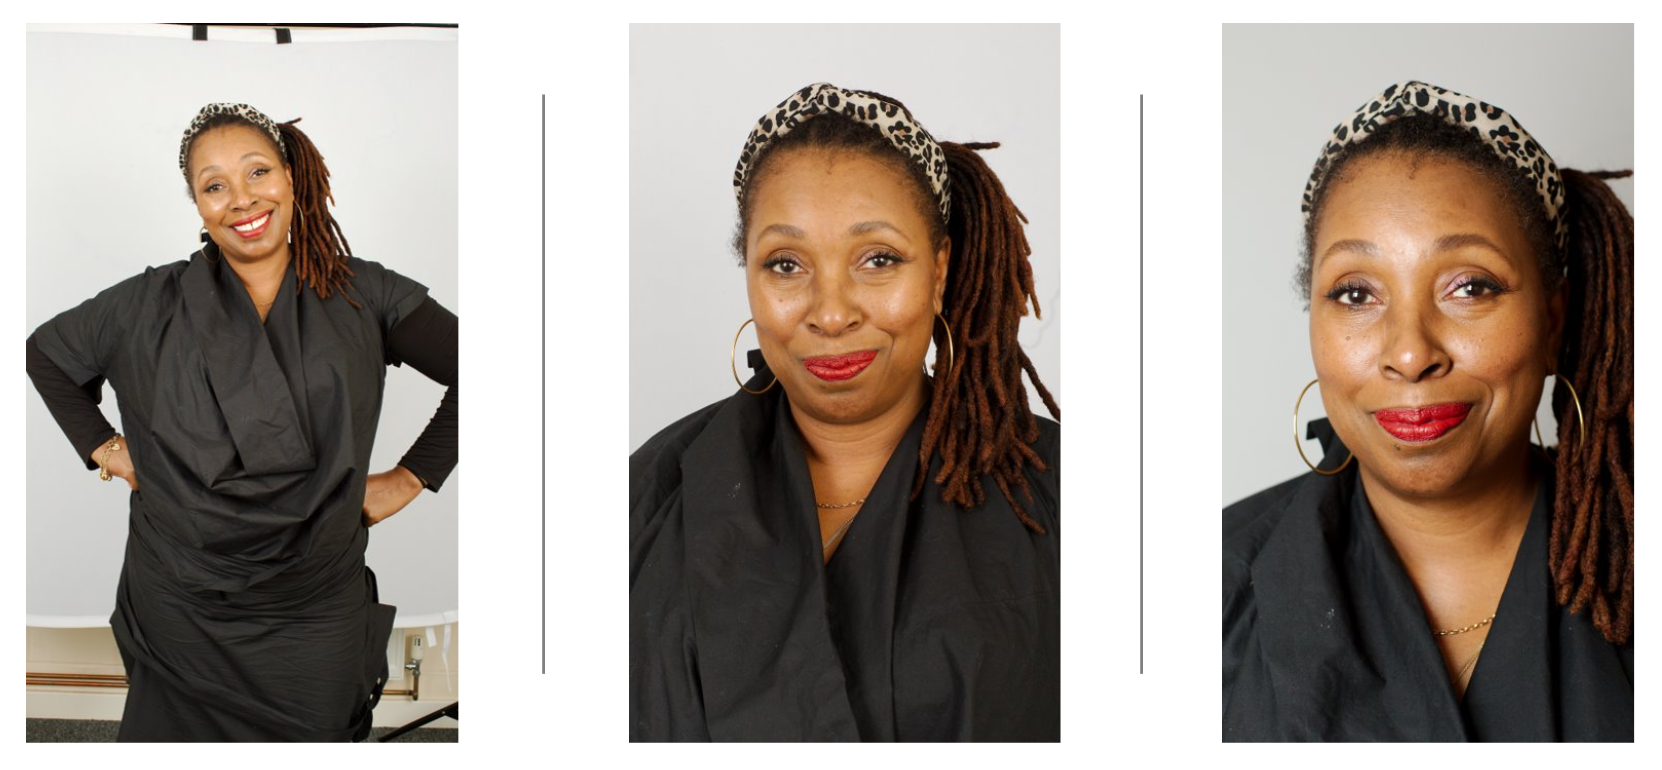
Most individuals standing in front of a camera feel a little intimidated at first. As well as putting them at their ease, ideally with a light-hearted remark or some small talk, you have to guide them into helping you get the best images. Generally, vertical (or “portrait” orientation) photos are the best way to photograph individuals. Start by taking photos that are “waist-up” and move in closer as they relax, ending with tighter “head and shoulders” shots. Some more experienced subjects will move and adjust poses between photos themselves, and won’t need much guidance, and may even suggest poses. Go with the flow, but retain control.

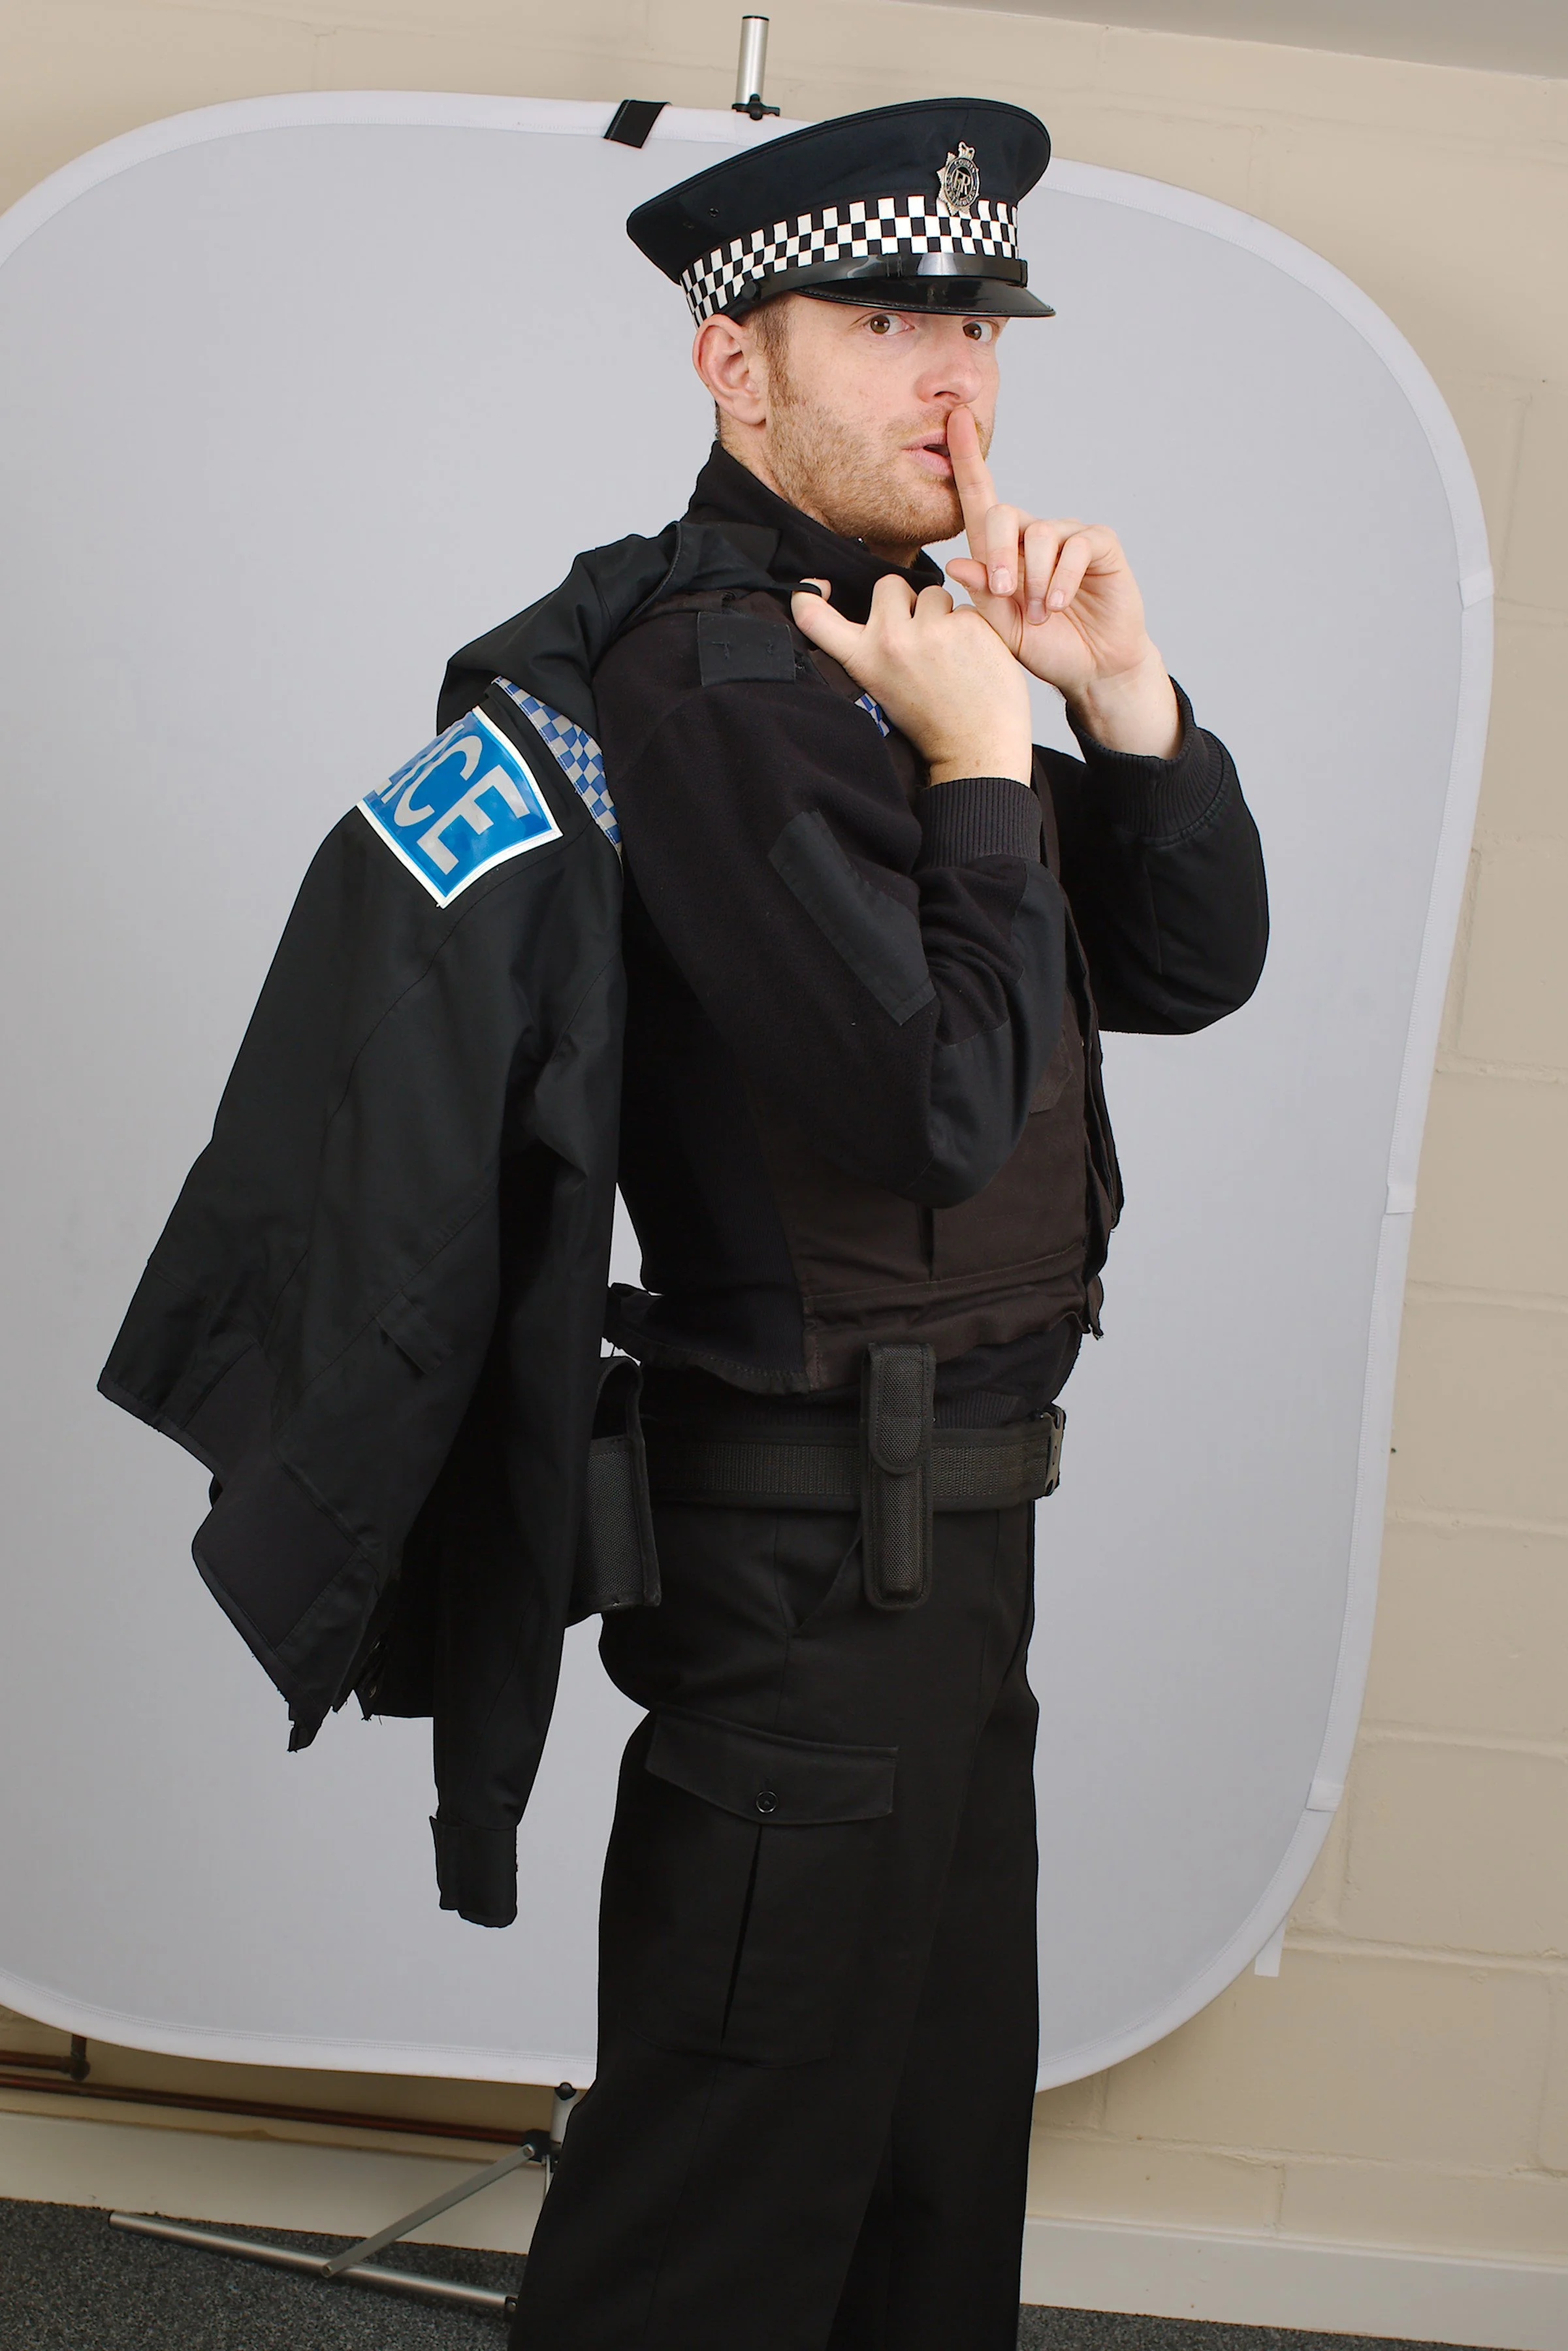
Character poses
If you are taking photos in character, for use in cover art for example, then explain to your subject that you are looking for “characterful” expressions. Avoid overly dramatic expressions though, unless it suits the character - they can look odd in still photos. Turn your subject slightly away from the camera and give them an eye-line off to one side. Move around them to create a variety of images. If you have time, swap sides and vary the eye line too.
Small groups
For groups of two to four people, make sure there is little or no space between people. Use your camera in a horizontal (or “landscape”) orientation. Get people as close as you without making them feel uncomfortable. This really makes a big difference to the impact of the images.
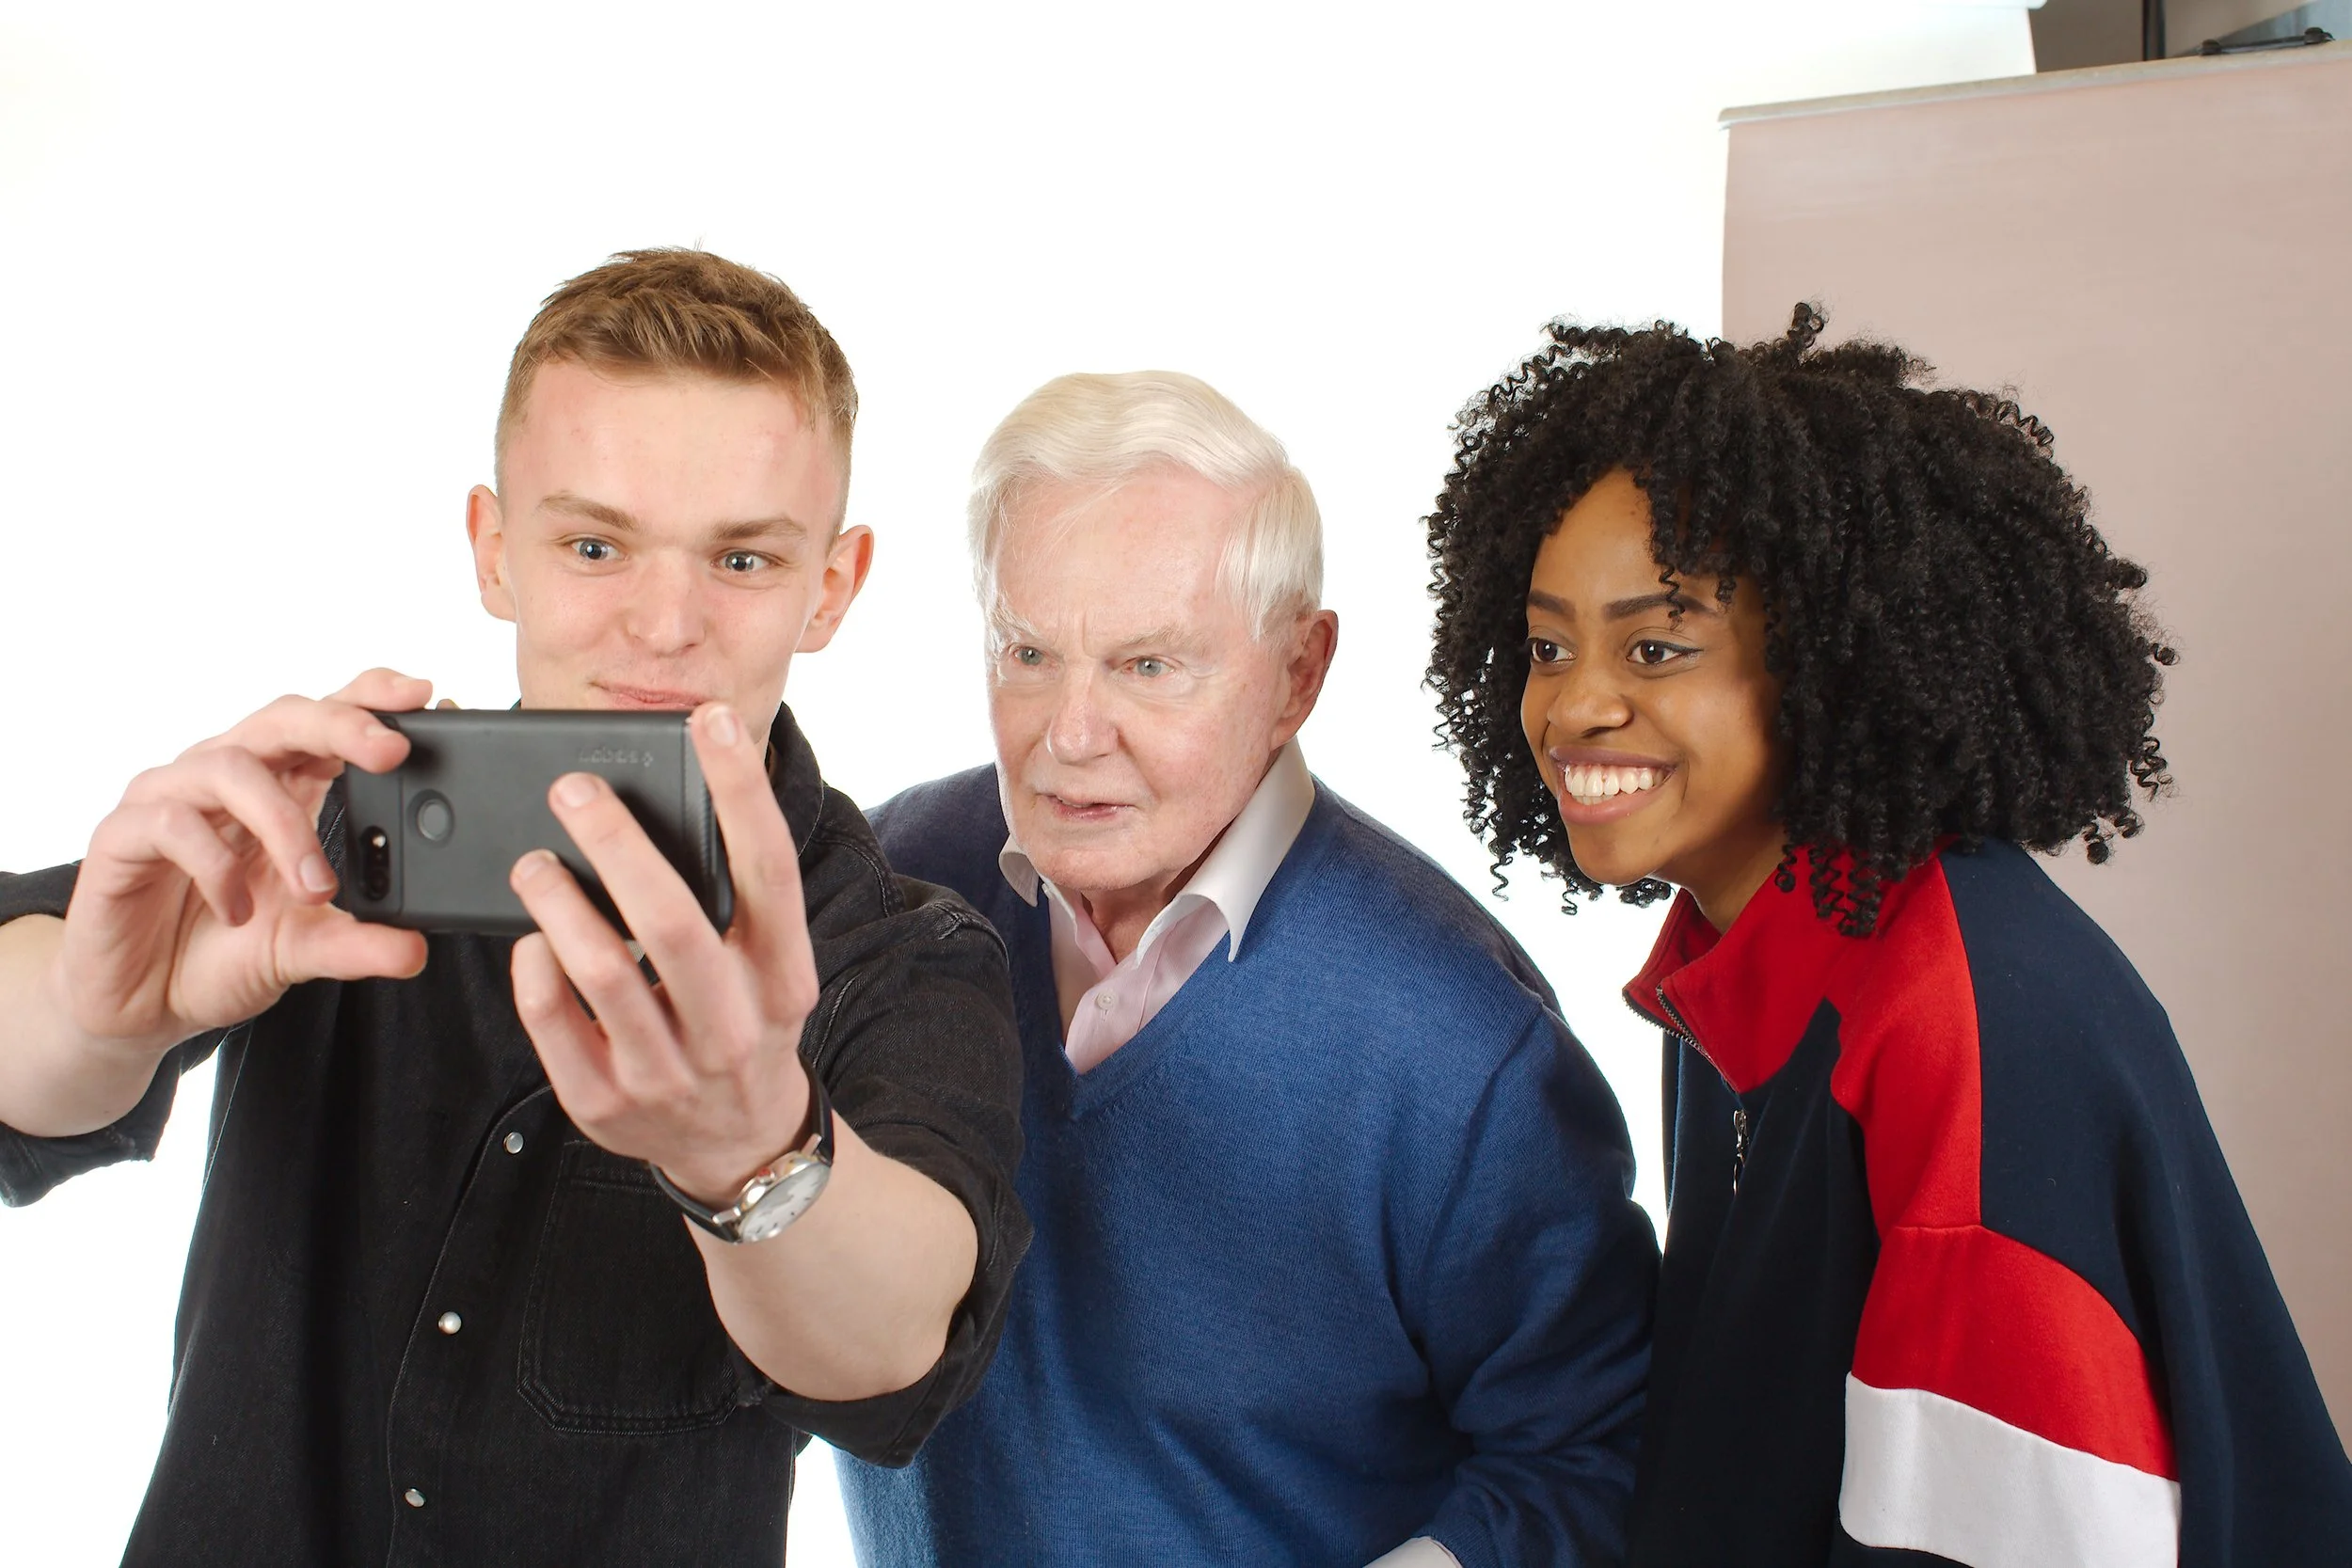
You can arrange people in a line, or two behind, two in front, or back to back etc. If your subjects are relaxed and want to muck around with each other then this can lead to lovely photos, but you will need to be ready to capture what happens. Take some “normal” ones as a back-up, as people’s faces can do funny things when laughing.
Get your subject to try some of the following poses:
Stand straight, arms folded.
Hands on hips.
Turn one shoulder towards the camera.
Turn away from the camera and look back over their shoulder.
As you are taking photos, give lots of feedback to your subject (“that’s great, thank you”). It’s cheesy but it really helps them know they are doing the right thing and avoids awkward silences.

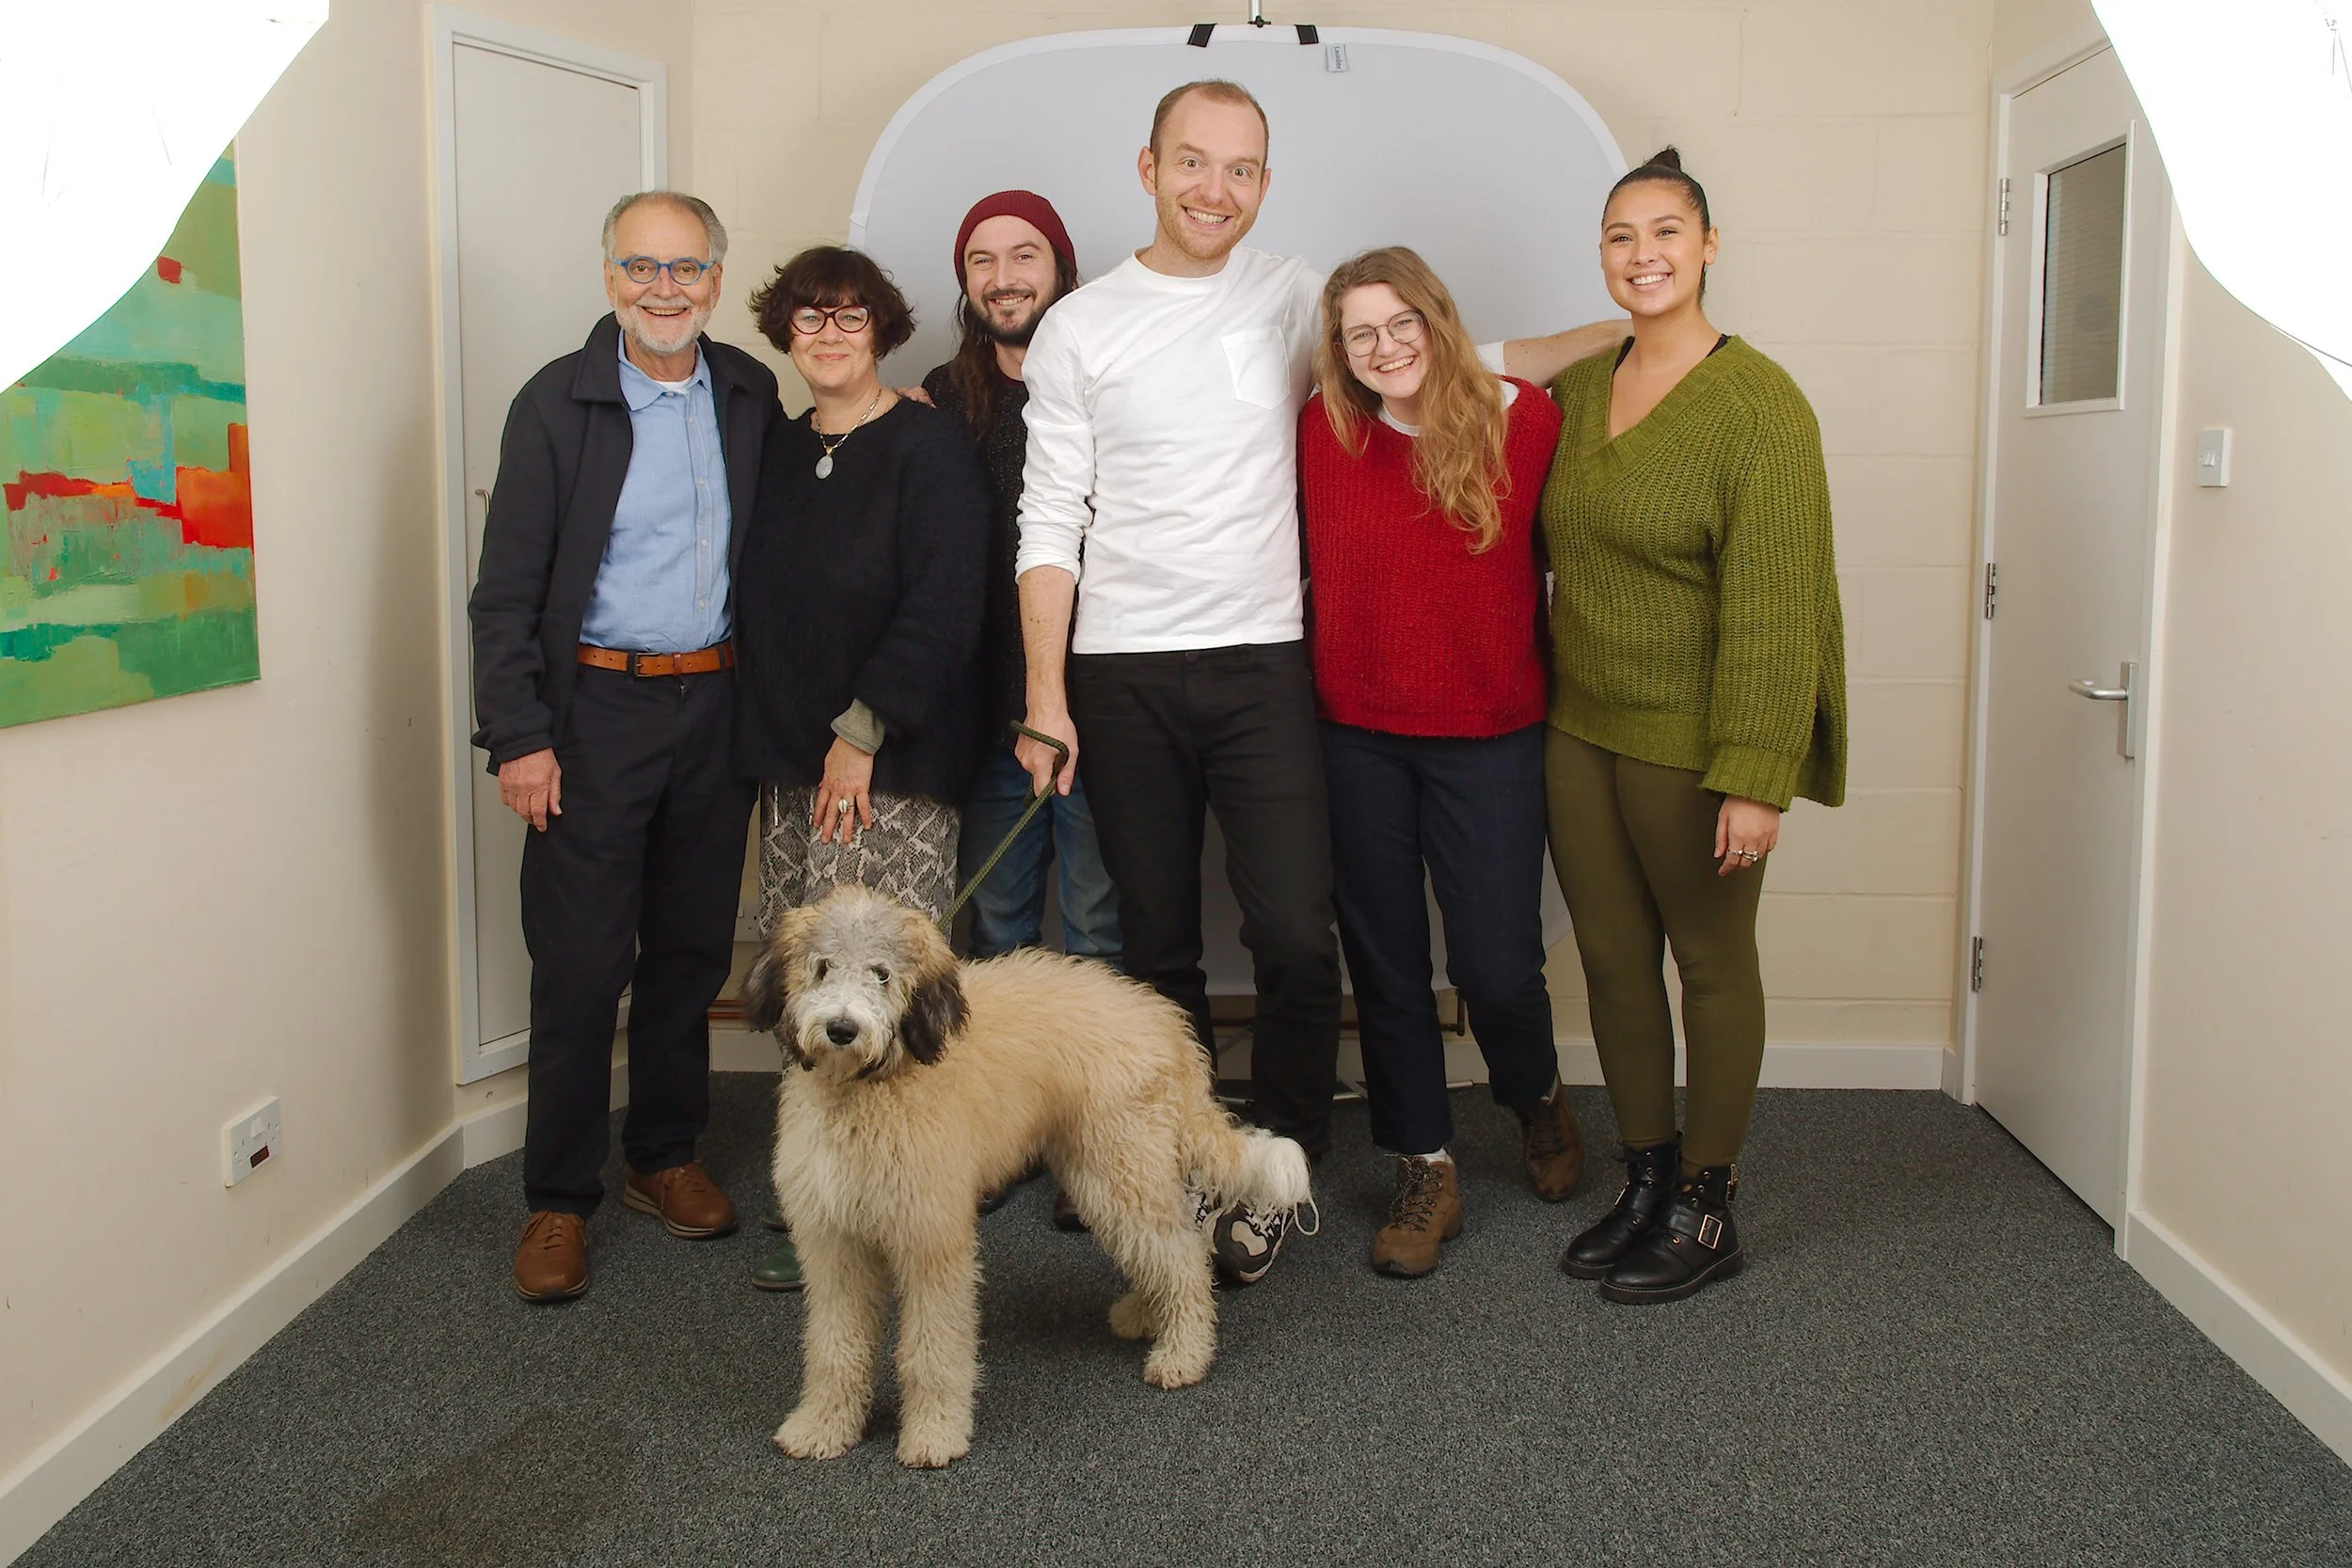
Large groups
For group shots of five to ten people, think back to school class photos - ask the taller people to stand at the back, the shorter people at the front. Check where everyone’s head is in relation to everyone else. Is anyone half-hidden? Are there any large gaps in the group? Ask people to move a few inches one way or another until you are happy, but don’t keep people waiting too long while you try to get it just right.
For very large groups, if you can’t move far enough away from the subjects within the space to fit everyone in the shot, you may need to stand (safely) on a stool or similar.
You can’t watch a large number of people at the same time, so take a few photos at a time (or use burst mode if your smartphone or camera has it) to avoid blinks.


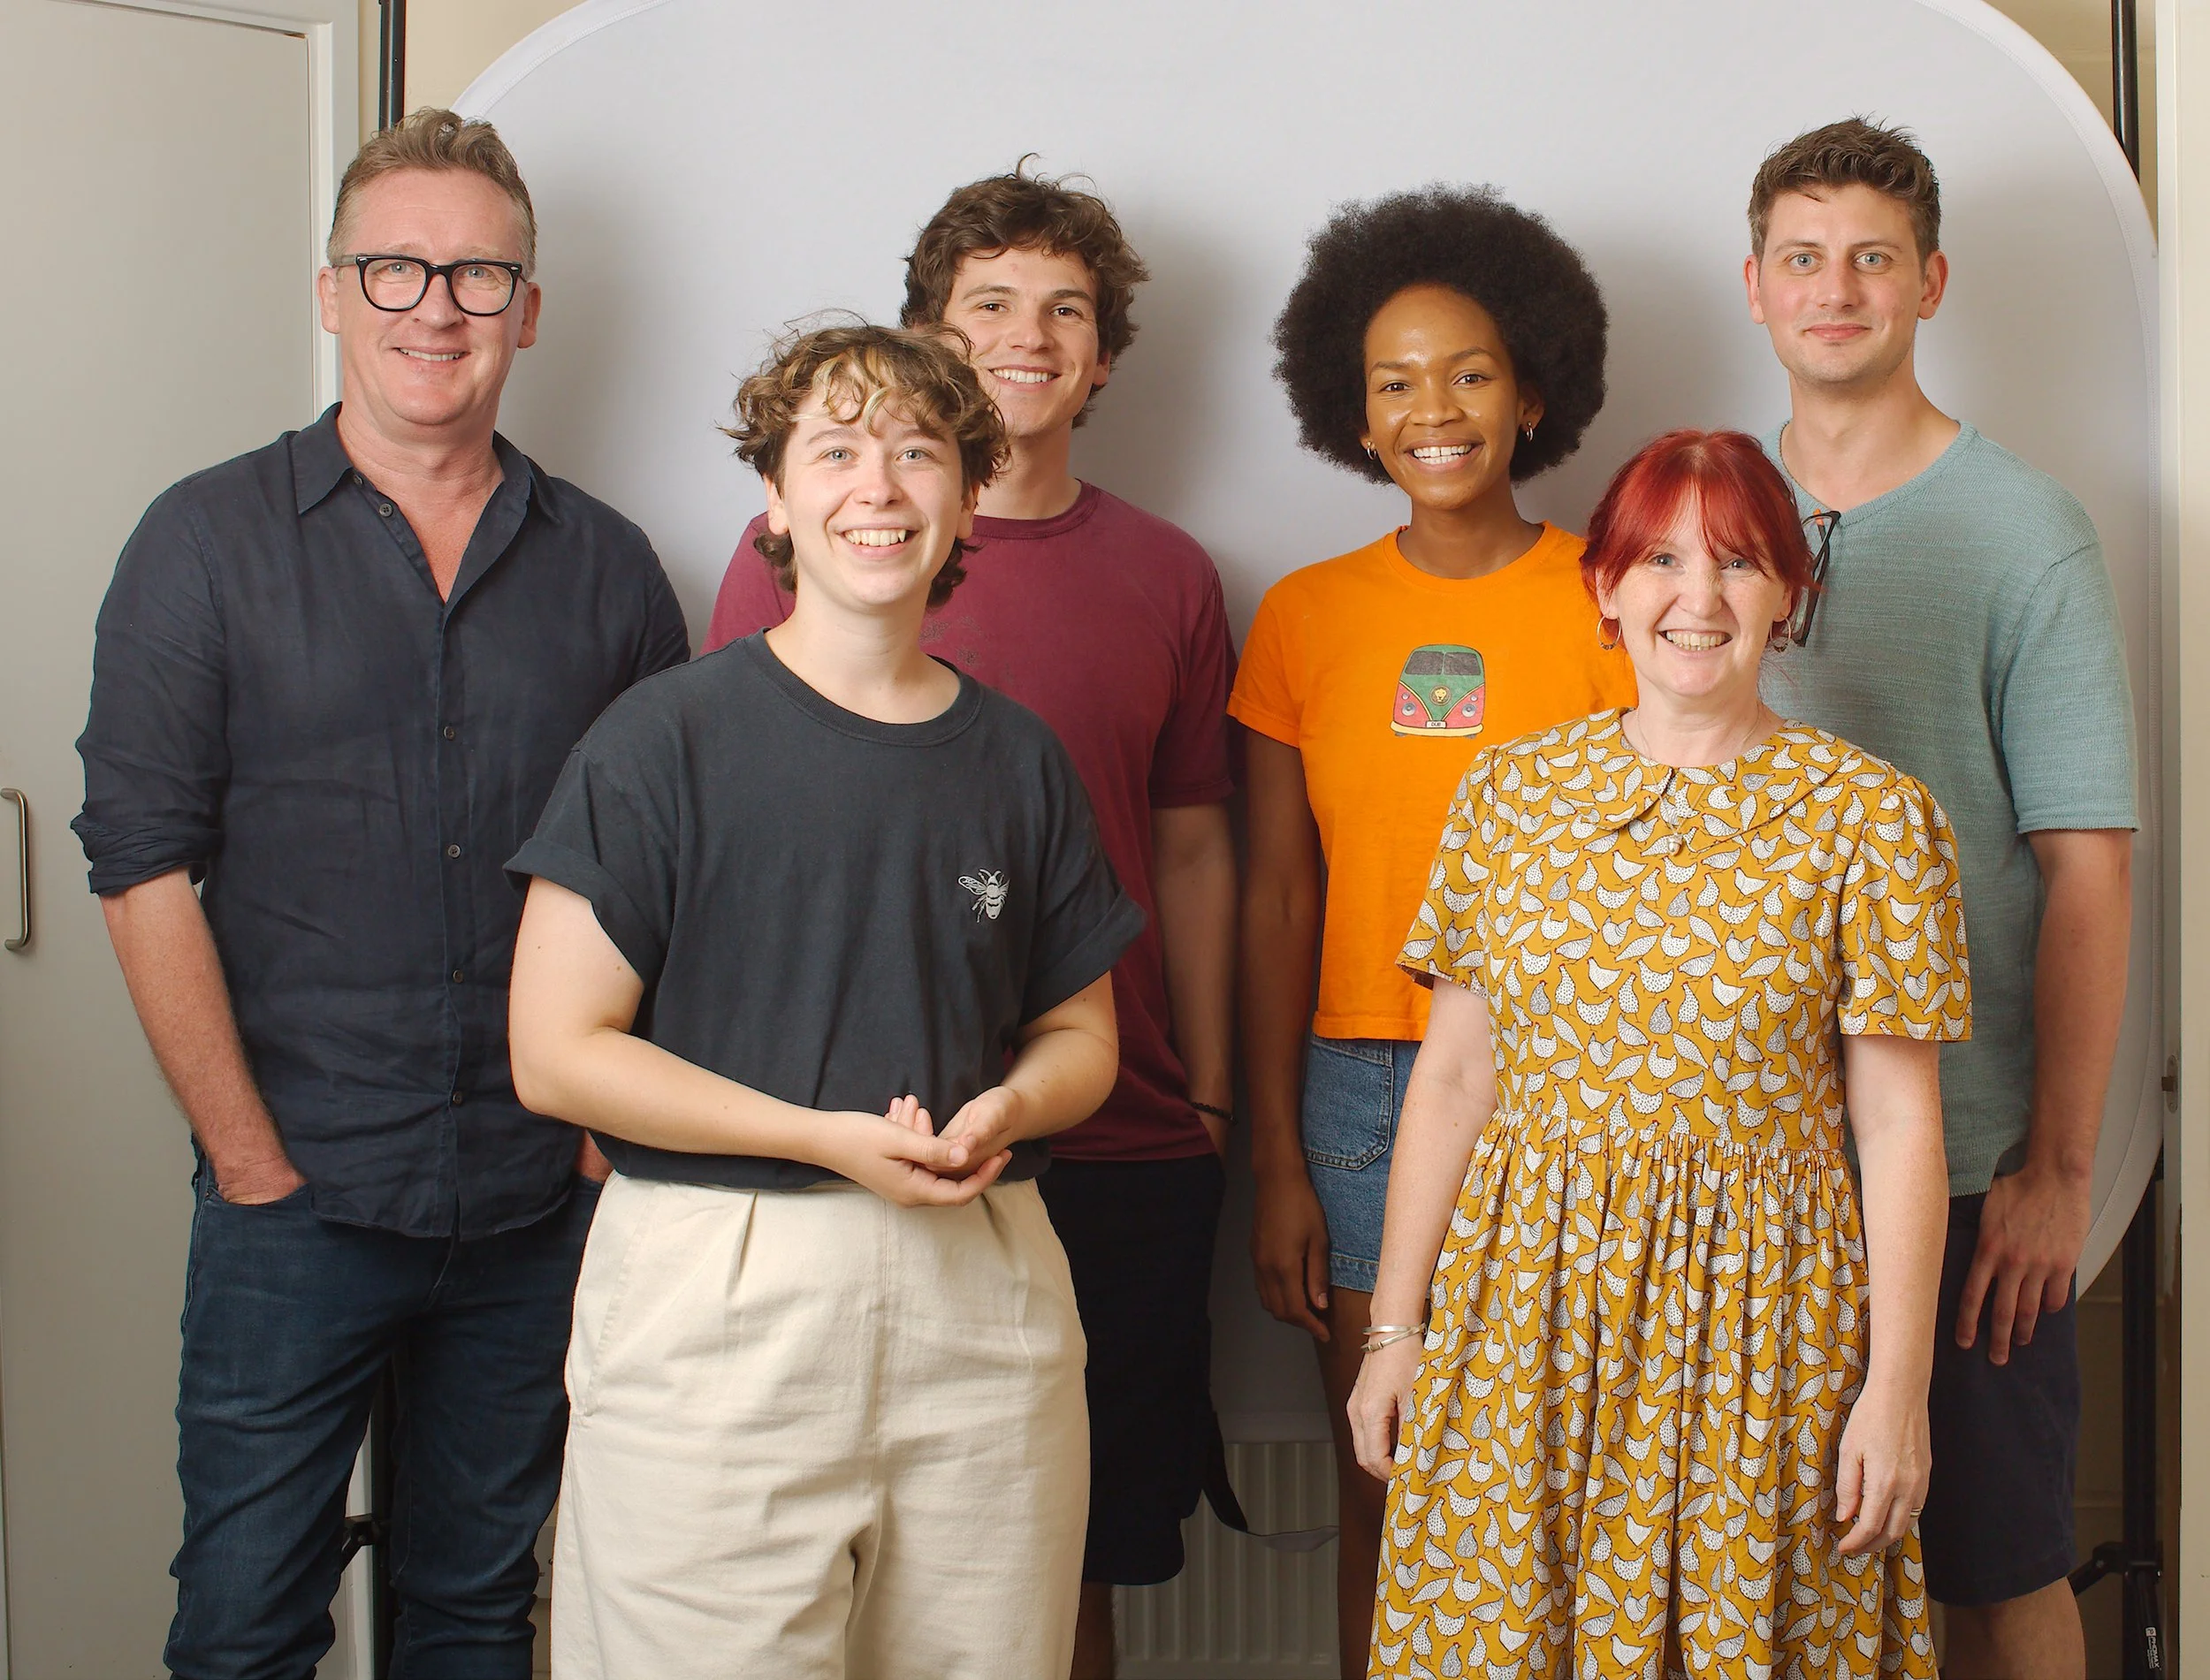
Small adjustments can make a big difference to a photo. Compare the “before” image on the left, and the “after” image on the right. By changing height and moving people slightly, everyone can be seen and is in the own space.
In Studio
Taking photos in the studio can be really challenging. There is often not much light, and the cast’s focus is, quite rightly, their performances. Some studios have heavy down-lighting, which makes some areas very bright and some very dark. There is not much you can do about that, other than adjust the exposure appropriately (see next section).
Find a spare chair or somewhere to stand that is out of their way. Keep very still and quiet during takes. Only take photos between takes, as the actors will be more relaxed then and may smile and laugh too.
It is almost impossible to take good photos if an actor is in a separate booth. If they are willing, ask them during a break if they would mind posing for a few photos in the main part of the studio.
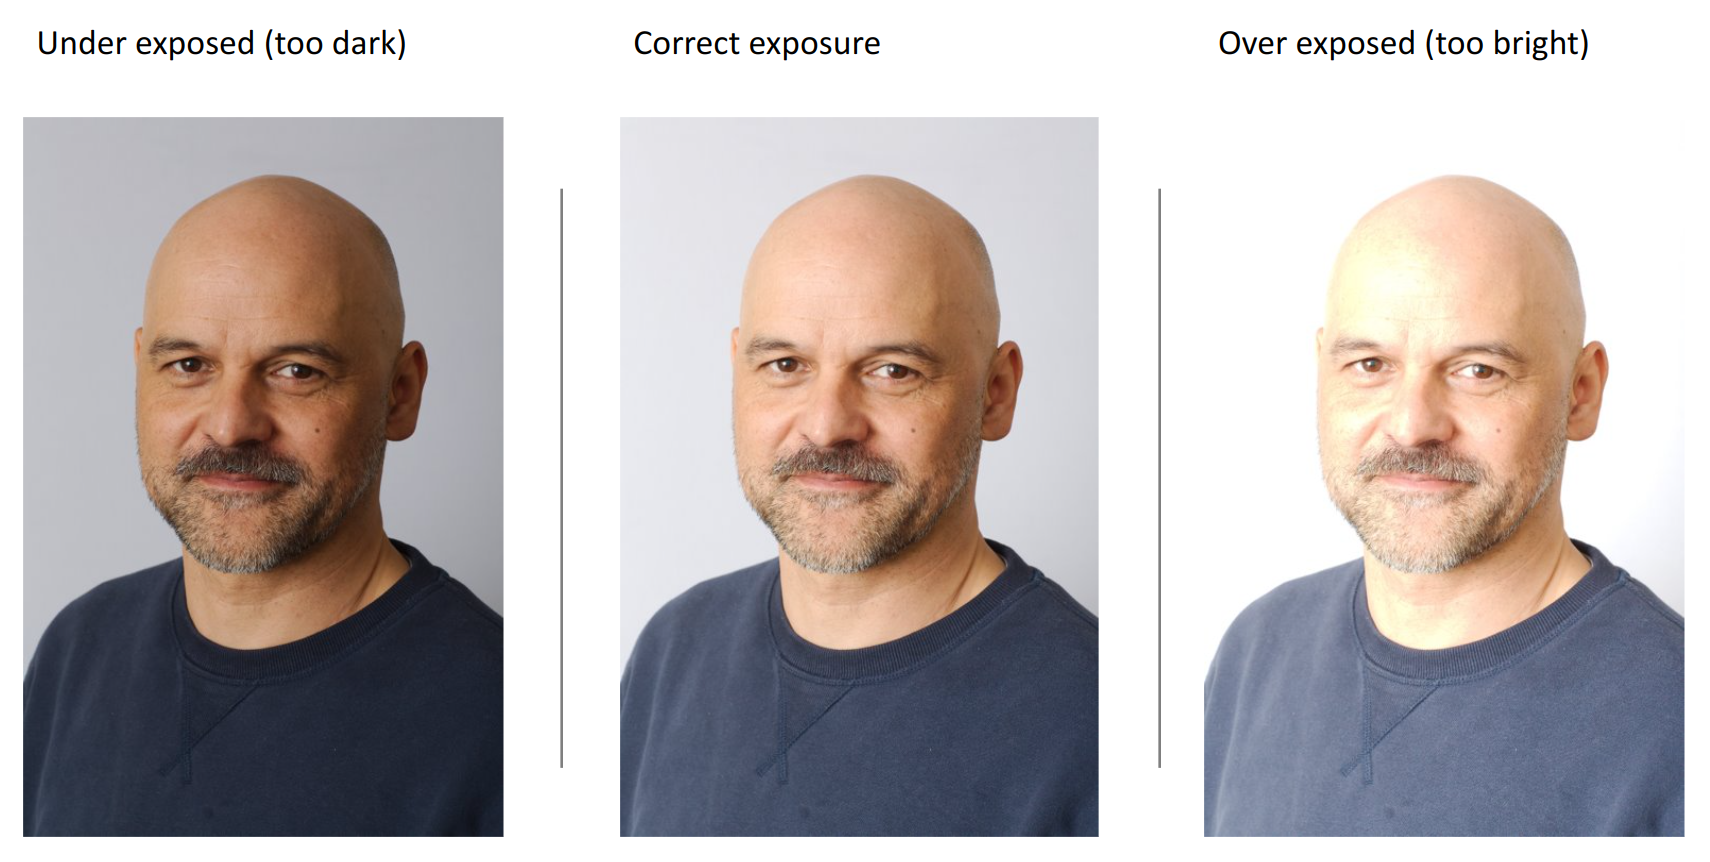
Exposure
Exposure refers to the amount of light hitting the subject of a photograph. Making sure the exposure is correct means that the subject of the photograph is captured clearly. Most of the time, the automatic settings on cameras and smartphones will do a good job, but they can get confused by areas of extreme light and shade.
Smartphones and some cameras will automatically adjust exposure for faces, so if your phone has face detection then let it work automatically. If not, tapping on someone’s face on the screen will adjust the exposure to suit that part of the image.
Whilst photographing
Keep things moving, swap people in and out as you need.
Keep things light, have a laugh with people.
Don't be afraid to tell people what to do and where to stand.
Give clear instructions, using people’s names to avoid ambiguity.
At the end, thank everyone for their time and co-operation.

If the lighting in your location is not changing, then you should not need to keep adjusting the exposure, but if the lighting is changing, or is very localised like in a studio, you may need to adjust the exposure before each photo.
Taking the shot
Hold your camera or smartphone as steady and as level as possible. If your camera has a viewfinder, then use this, as having the camera closer to your body helps keep the camera steady.
It can be tricky to adopt a really good stable stance when using a smartphone, as you need to be able to see and touch the screen. Try to tuck your elbows into your body, and keep the smartphone close to you. Hold still when you take the photo(s) to reduce blur. It is better to have your phone chest height if possible, rather than head height, as this gives a more natural perspective on your subjects.
If you are using a camera with a physical shutter button (the button that takes a photo), squeeze or press it gently so as not to move the camera whilst the image is being taken.
After the session
-
The easiest method to get the photos off your camera or smartphone is to connect the your device directly to a computer using a cable. You can then copy the files onto the computer. The cable you need will depend on your device and computer.
If you use another method that does not require a cable (e.g. Dropbox, e-mail etc.) make sure that your camera or smartphone does not compress or reduce the size of the photos automatically when sending images this way.
-
Some artists have approval rights on images featuring them. In this case, you should review the photos, and send a selection of your favourite images to the agent (or the actor directly if they have requested that you do so.)
Ask them to clearly identify the images they have approved. It may be helpful to rename the files before you send them to make this easier, e.g. Fred_Bloggs_1.jpg, Fred_Bloggs_2.jpg
-
If you want to have the images retouched before they are sent for approval, or just feel that one of your subjects would benefit from some retouching, contact Mark Plaistow.
Avoid using in-camera or smartphone editing tools. Although they can look OK on the camera or phone screen the results are often not good enough for use in print.
Thank you for reading. If you have any questions or feedback, or would like to enquire about photography for your production, please get in touch.